Brands
Brands
Categories
Categories
- Home
- How to
- Install Tools
- LCD Removal Guide
LCD Removal Guide
1. If you have an LCD screen with inverter attached to the screen, it should look similar to the picture below.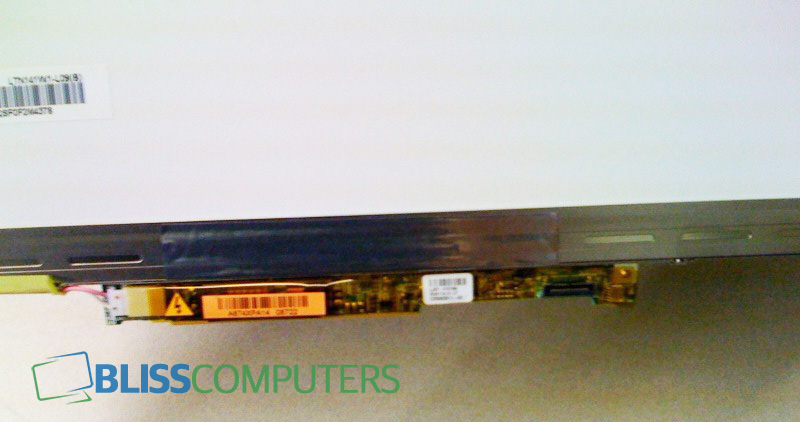
2. In order to replace it with the LCD that we supply, you will need to remove the inverter from your existing screen. If your screen has a aluminum strip holding your inverter, you may have to remove the screws before trying to disconnect it.
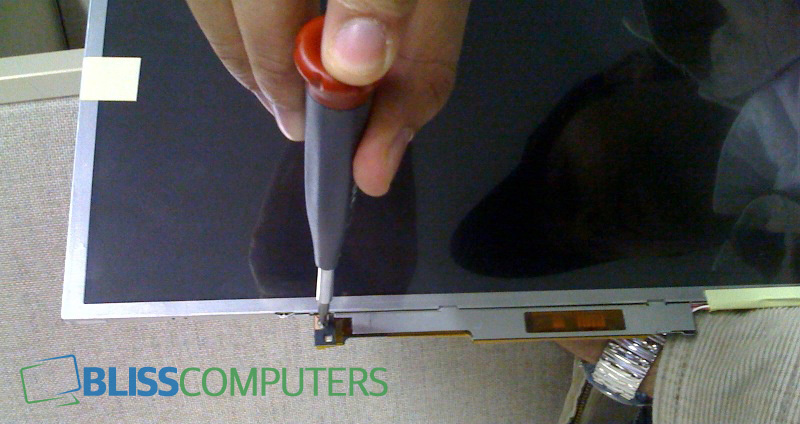
3. Remove the CCFL connector as shown
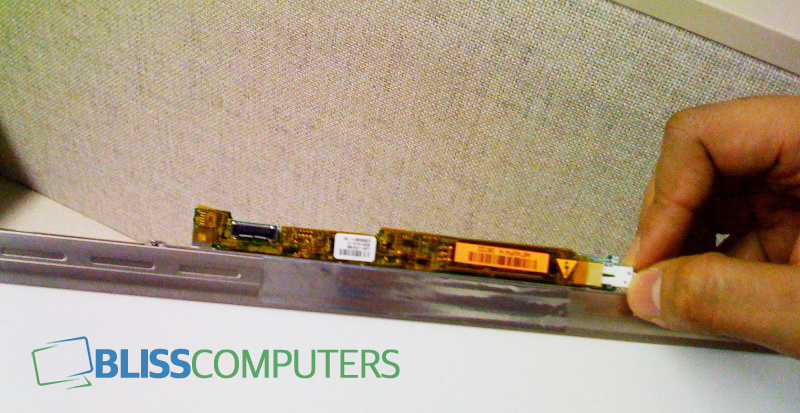
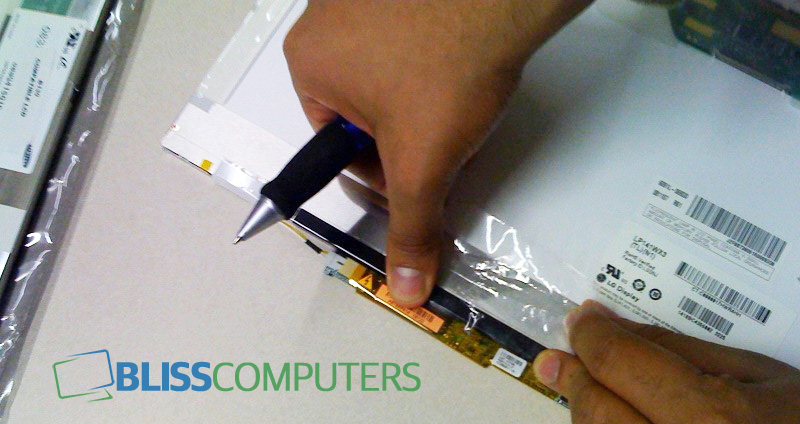
4. Some aluminum strips may use mild solvent to hold the inverter in place. This can be easily removed using a plastic tweezer or a minus screwdriver tip. If you are using a minus screwdriver tip please detach the inverter softly and cautiously.
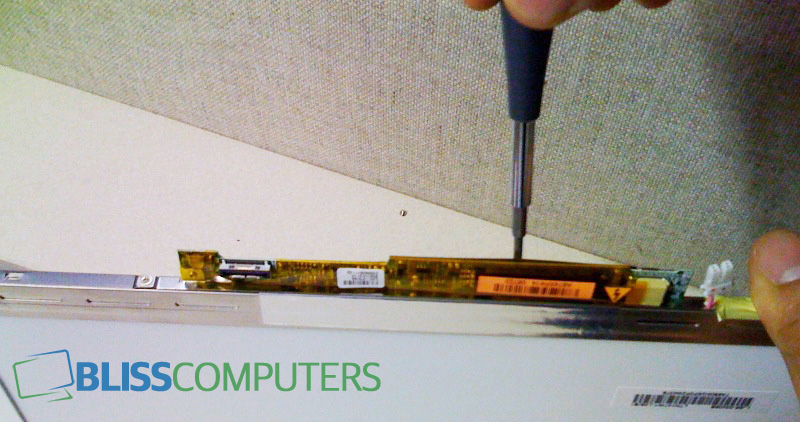
5. Once a majority of the glued portion is removed, the rest can be removed using hands without any tools.
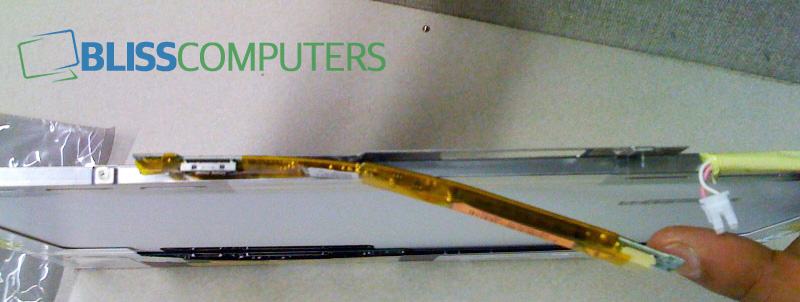
6. After removing the inverter your old LCD should look like this. Please follow local disposal instructions to dispose / recycle your old non-working or damaged LCD screen.
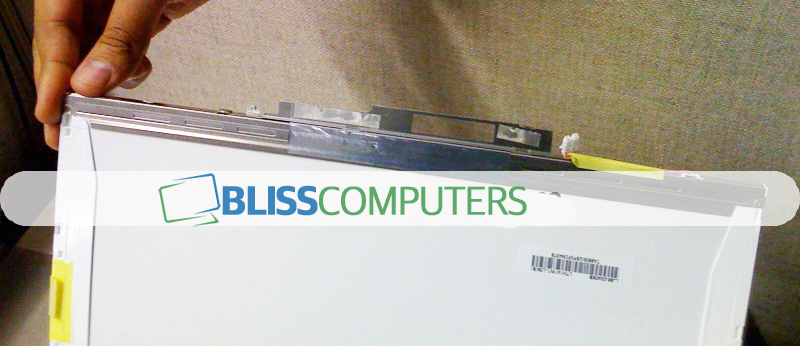
7. The picture below shows an LCD (with black tape on the border) is similar to the screen we usually ship out. Please note that we do not ship inverter. You will have to use your inverter to connect our screen to your Laptop. Please attach the CCFL connector going from LCD to your inverter.
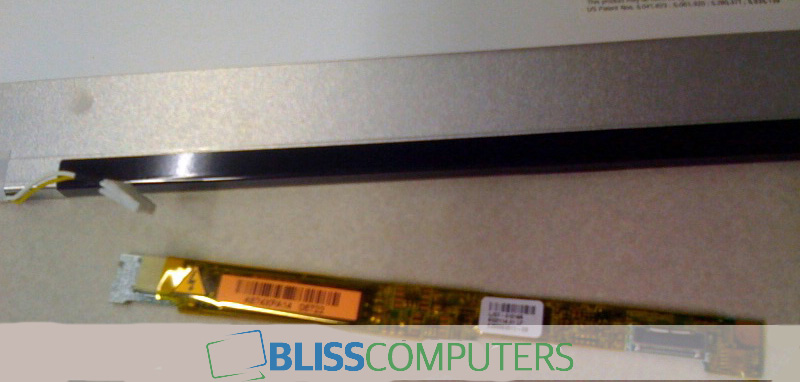
8. Secure the inverter using any adhesive tape (electric tape recommended). Make sure the tape is glued to the backside of the LCD. Once the inverter is secured properly, the next step is to place it back in the LCD bezel and complete the rest of installation. The LCD bezels are designed to secure the inverter. Once the LCD is placed in the bezel, the inverter will not move.
 Loading... Please wait...


